Chevron Necklace Tutorial


I saw this great necklace on Pinterest and after a few clicks saw that it wasn't a DIY as I thought it was.  So when I pinned it, I captioned it "not a DIY, but I'd like to make it one".  So HERE it is!!!!!!! I had never made jewelry before, so if you haven't either you can do this! I promise you.  The only thing I had to practice was making loops with the round nose pliers.  I also didn't own a lot of the materials but they're inexpensive at craft stores.  

Materials can easily be purchased at Michael's or any jewelry supply shop.  


First thing, the 1 eye pin you have is to hold all of the strands of beads so start with one white bead and I put a small binder clip at the end just to hold it all together.  I have a kitten, Buzz, and he for some reason kept wanting to play with the beads.    


On the first head pin you will put 6 red beads, 2 turquoise beads and 4 pink beads.  This will be repeated on all 11 head pins.   

You will need to cut each head pin to size and make a loop so it can hang on the eye pin.  To do this, use your wire cutters and cut about 1cm above the beads.  You'll notice that the round nose pliers are  tapered, on one end they are thicker and then become thinner on the opposite end. Depending on the size loop you want to make will determine the area of the pliers you use.  For this project you will definitely use the thinner end.  With the round nose pliers at the top of the head pin, begin turning the pliers around forming a loop.  This will take a little practice  but is not difficult.  I suggest practice making loops with the round nose pliers if you never have, on another head pin.


Your first strand is done and can be places on your eye pin followed by a white bead and placed aside.  


Continue making each strand.  The only thing that changes from strand to strand is the number of white beads.  And you'll notice it will not follow the diagram perfectly.  This is because beads range in sizes, some of them are longer than others and some are shorter than others.  To compensate for this you will need to hold your strand to the completed strands before cutting it.  You need to make sure that it is longer than the previous strands.  On the picture below, (on the right) you will see that before cutting that head pin I checked to see if it's long enough before cutting.   


2 strands are  complete, 9 more to go. 
Check length of strand before cutting. 


Continue making the rest of your strands.  The necklace is symmetrical so strand 1 is identical to strand 11 and so on.  You want to also make sure that the identical strands match in length.  


Cut you chain to length.  This really is personal, if you prefer longer or shorter.  I cut mine to 22 inches.  


Next you need to close the other end of your eye pin.  You will do this like the other head pins with the round nose pliers.  Give yourself a little more than 1 cm of wire to make the loop and you want to make the loop in the same direction as the other pre-made loop,  I put both of mine facing down.

Before closing your loop put one end of your cut chain and then close it.  

On the other pre-made loop, open the loop slightly and place the other end of the chain.  

Cut your chain at the middle where the clasp will go.  


At the end of your chain you can add small jump rings to make the length of your necklace adjustable, or if you don't need it to be, you can just add one jump ring.  On the other end place one jump ring and the lobster.  

And you're done!!!!!!!


Wear your necklace and surprise people when you say you made it! 

If you have any questions of if I didn't make something clear enough please let me know.  

DIT&O 

-Karissa 


Whiteboard Calendar DIY

EDIT: November 2013 - Thank you for visiting our blog! Please feel free to click around. Thank you your interest!


I've been needing a calendar in my room for ages and instead of paying $68 or $35 for one, I made one for myself. I had a white board that I wasn't really using and my mom gave me the idea of using pinstripe tape instead of electrical tape that I initially thought to use. I got the pinstripe tape from Auto Zone and it was only $3.22 with plenty of tape to spare. That's a savings.

What you'll need:
  • Whiteboard
  • A means of measurement
  • Scissors
  • Pinstripe Tape


The Supplies.
Evenly space the board to have 5 rows. Leave space for the month, year, & the days of the week. 
Oliver helping me measure.
Place the lines. I left room on the edges to trim at the end.
Create a row for the days of the week. Evenly space 7 columns. 

I added a diagonal to separate the month and the year. 
& here it is!

DIT&O!

- Christina
@city_loveee

P.S. - Don't forget about the giveaway!

Canvas DIY

EDIT: November 2013 - Thank you for visiting our blog! Please feel free to click around. Thank you your interest!


This past Christmas I decided to DIY all of my Christmas gifts. It's more personal because you made it by hand, and because you can give your loved ones exactly what they want. It was fun discovering what I wanted to give my sisters through looking at their Pinterest boards (especially their "DIY" and "Products I Love" boards. So either I could create one of their DIYs or create something they would want to buy.)

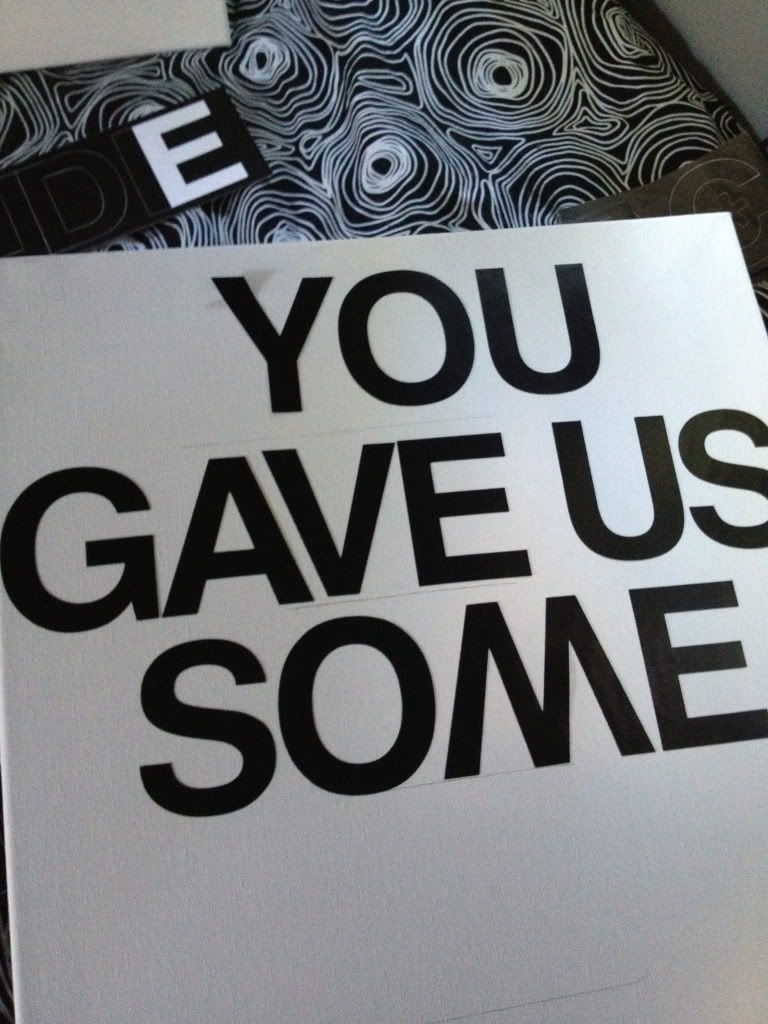
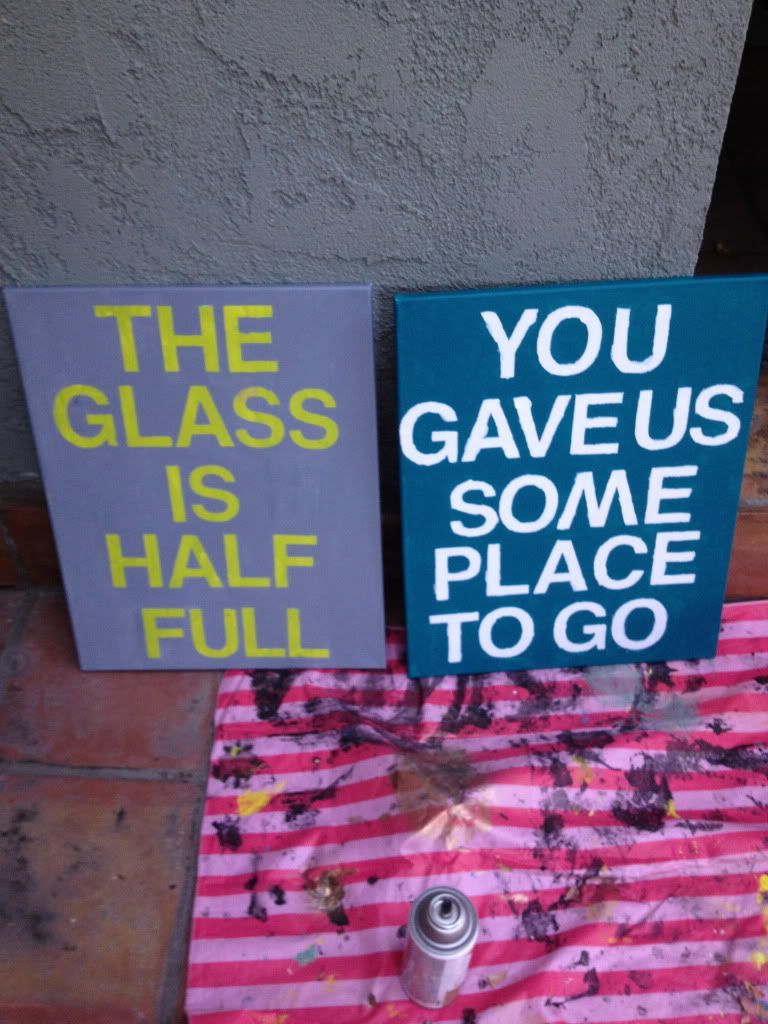
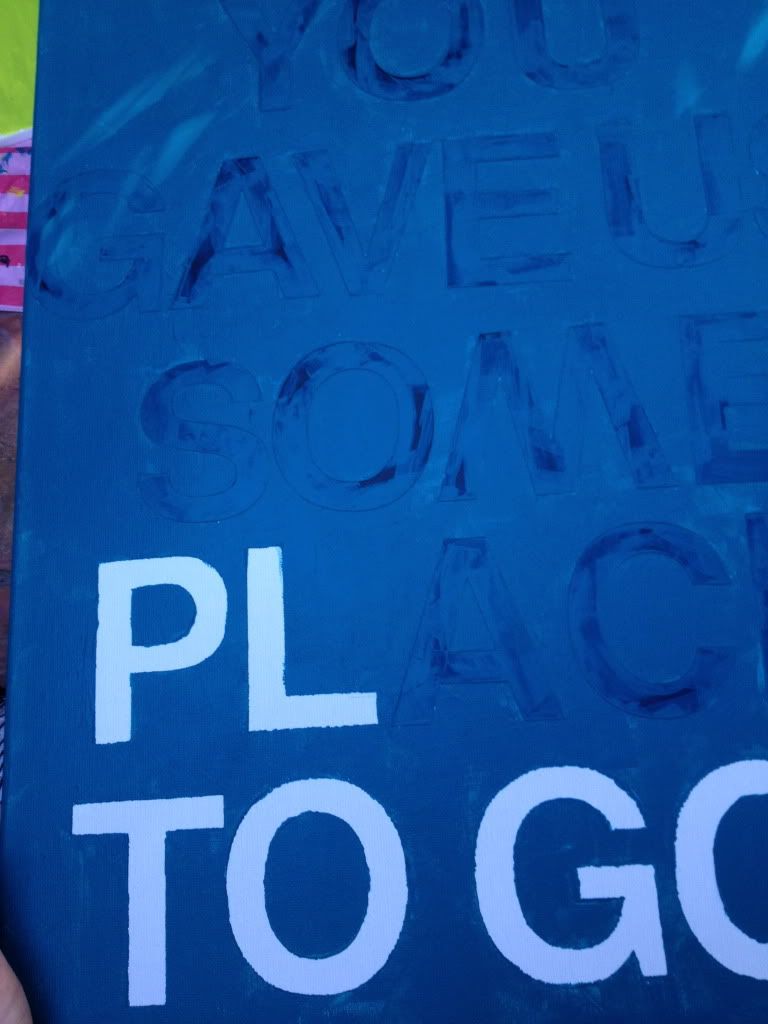
I decided to give my older sister, Natalie, a painted canvas with a message. I originally had this idea for my friend Dee Dee, because I wanted to paint a canvas that has song lyrics on it. Dee Dee and I have gone to many Jimmy Eat World concerts so I wanted to use their song lyric, "You gave us some place to go" from their song Hear You Me. So I made a canvas for both of them. I modified this DIY that I found on Pinterest. Here & here are similar ones as well.

Here's what you'll need:
  • Canvas (Michael's)
  • Letter Stickers (Michael's)
  • Paint (1 or more colors)
  • Paint Brush

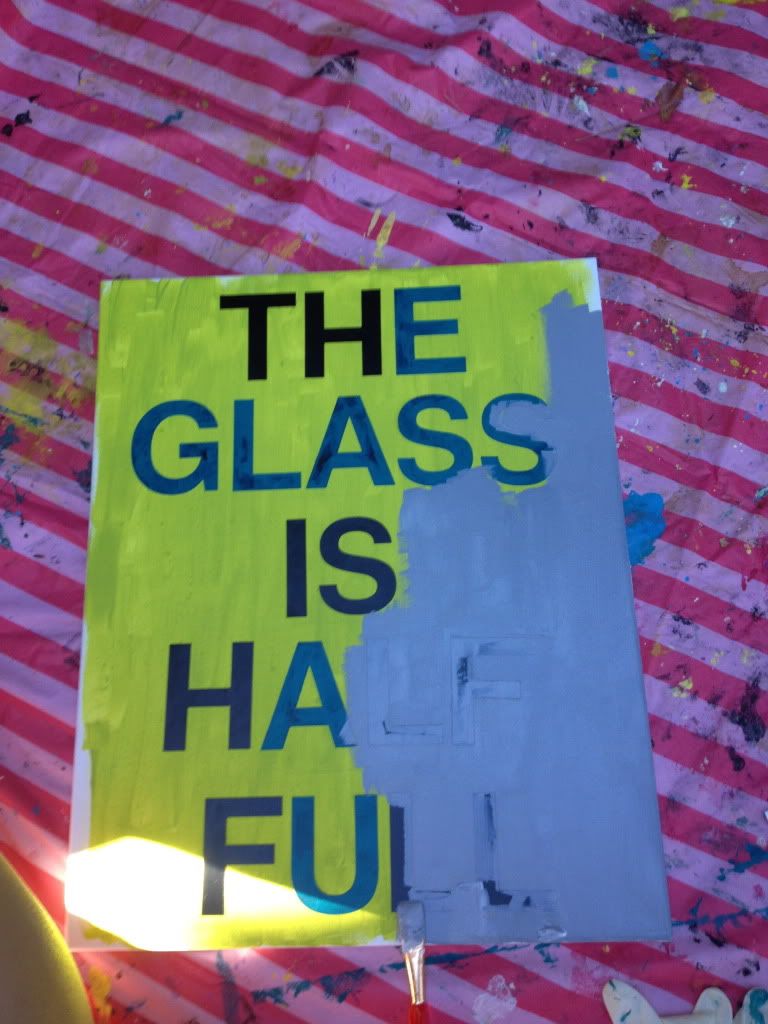
Start by spacing your letters evenly on your canvas and lightly placing them (give yourself the opportunity to move them if necessary). I used an L shape ruler and drew light horizontal lines. Something great that I learned is the stickers can be reused after painting. After the letters are placed where you want, firmly place the letters on the canvas. The letters didn't stick very well to the blank canvas, so keep that in mind.
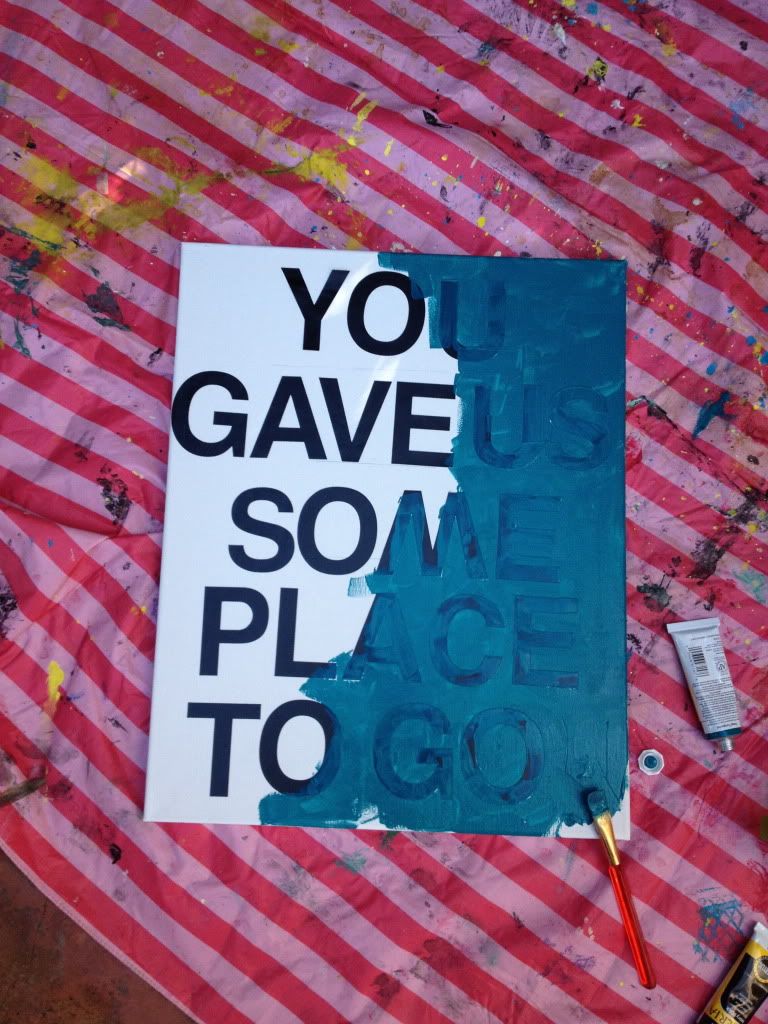
After all of the letters are placed, begin painting over them. Because the letters didn't stick very well to the blank canvas, make sure when your painting that the letters do not lift up when your brush goes across them.

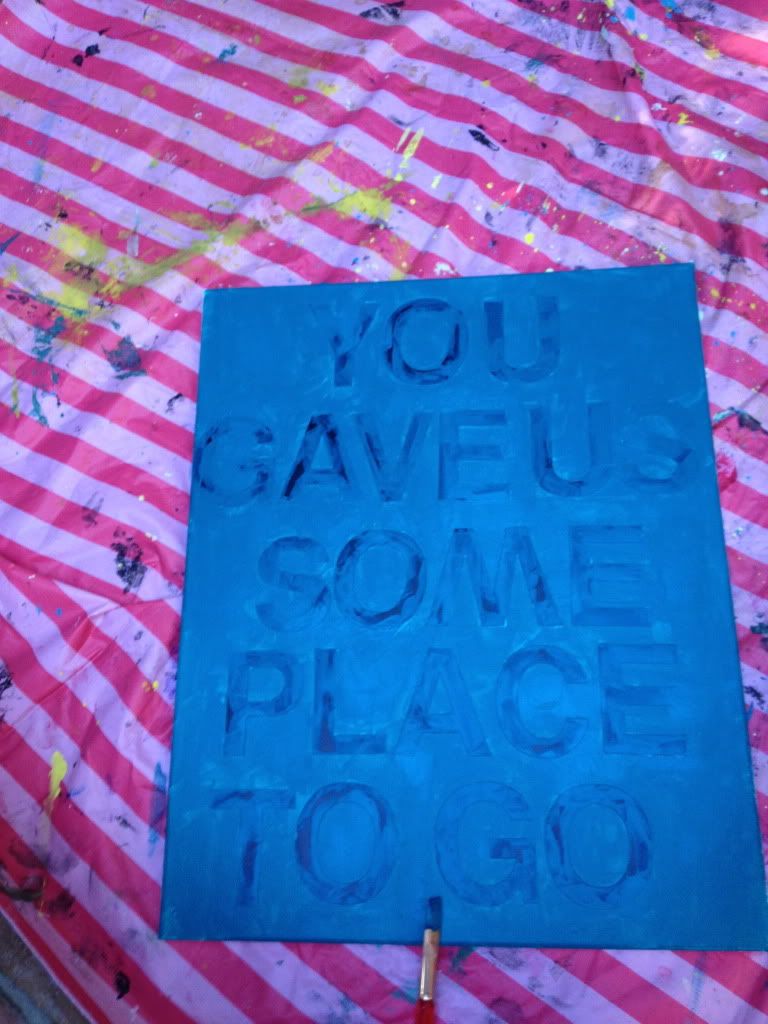
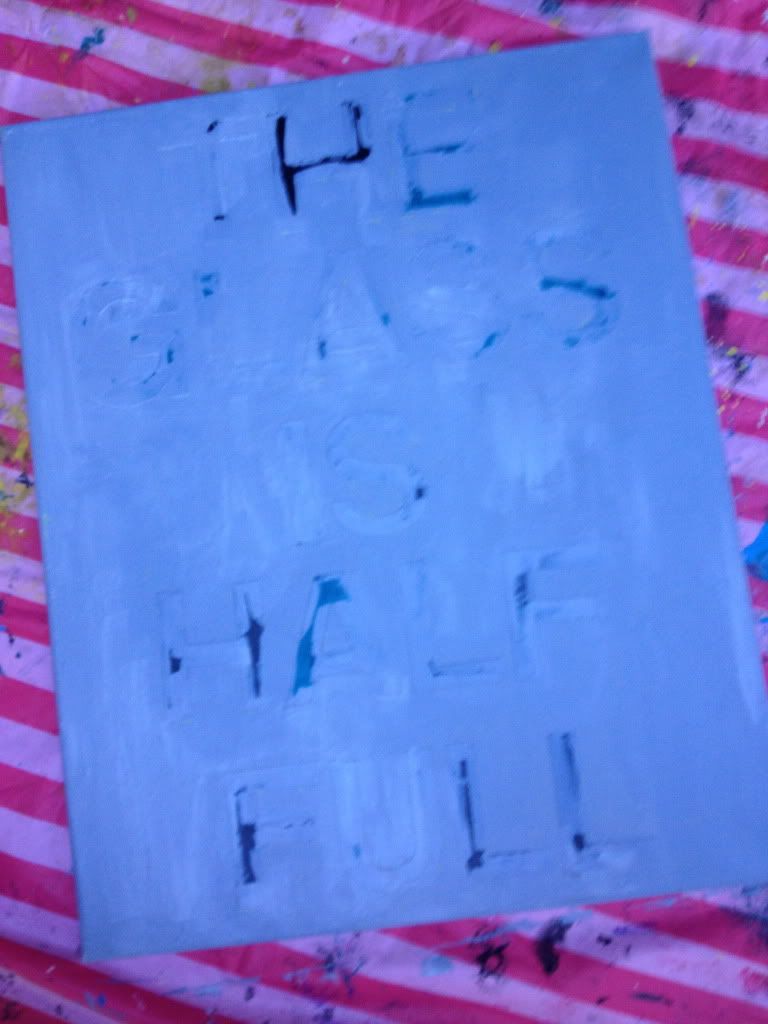
After the paint has dried, begin removing the stickers carefully, you want to be able to reuse them!
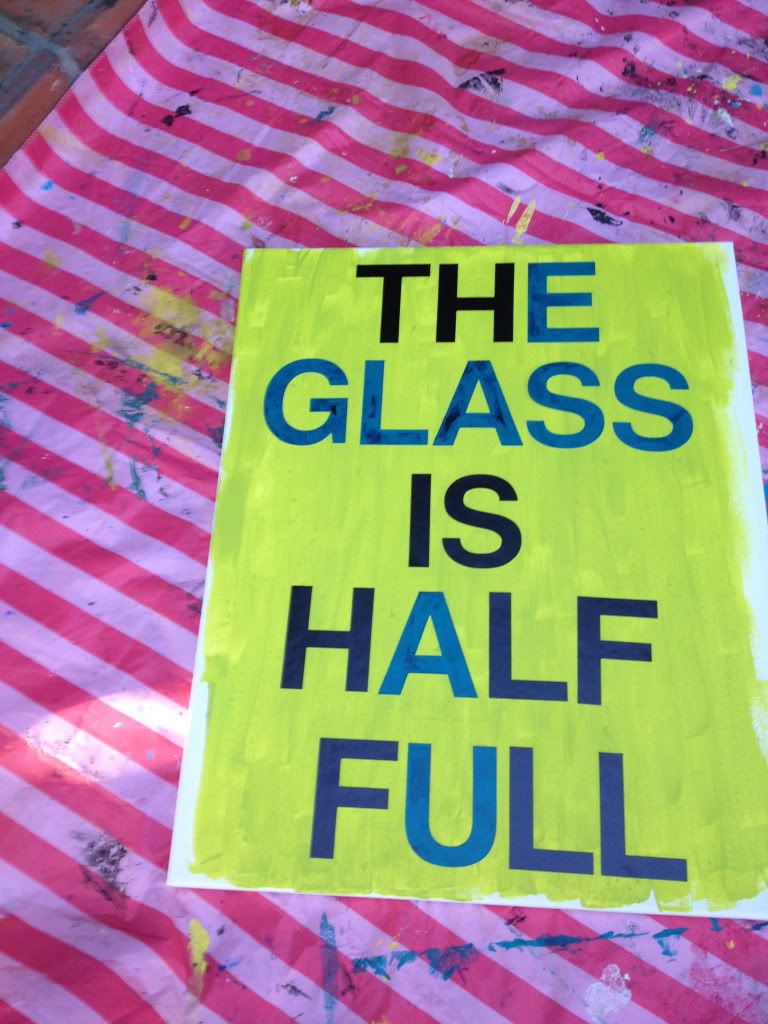
Here's how the first one turned out. The paint got under the stickers a few times so I touched it up with white paint.

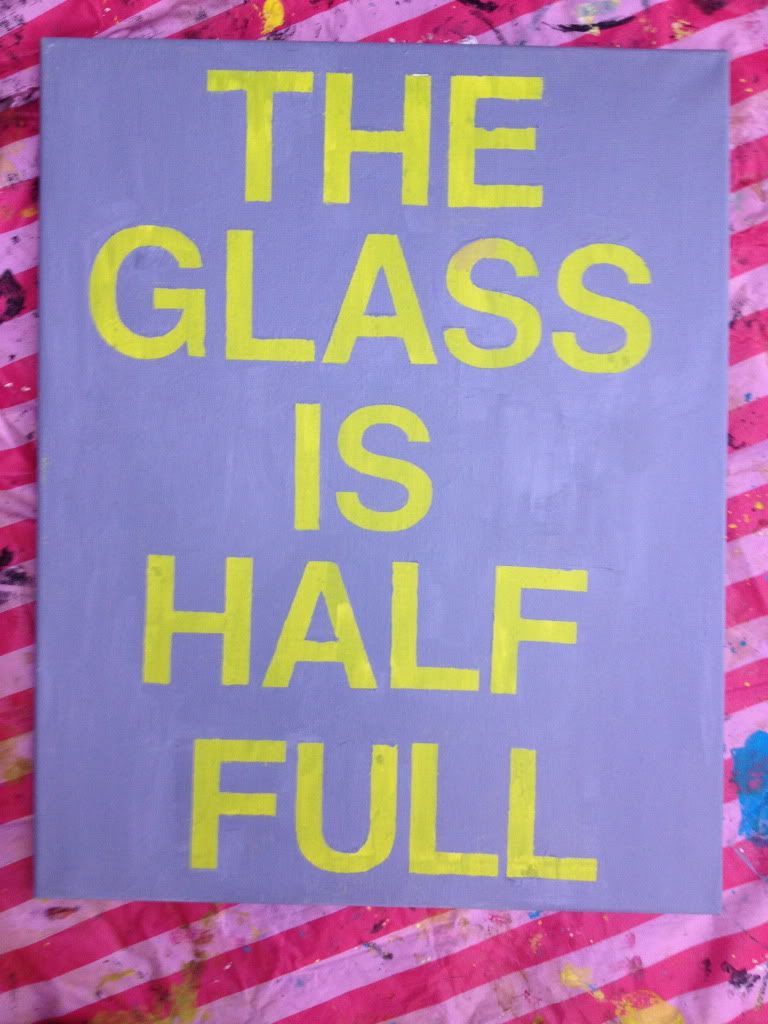
Then I got started on Natalie's canvas. Natalie, just like Karissa & I, is a huge fan of green. So I decided that she would have green letters. First, I painted the canvas where the letters would be. I reused the letters from the previous canvas. They stuck really well to the painted canvas.
I then made some grey paint by combining white and black paint and began to paint over the letters.
Because the letters stuck better than the last round there weren't many touch ups to be made.
And here they are! It took me about 2 hours to complete both of them. :)

Tweet me if you have any questions!

& don't forget to enter the giveaway! Spread the word! Only 32 more followers!

DIT&O
@helloDITO

- Christina @city_loveee

Postcard Invites

I love, love, love sending snail mail! And oppositely I LOVE receiving it! 
Getting something in the mail is so exciting, especially knowing it traveled so far just to get to you.  

For our invites for the next DIT&O party we decided to send a postcard.  It's simple- no envelope required, just a stamp.  So I made special DIT&O postcards personalized with the event details.   


Because we love you so much we included the postcard as a printable!

I made the front and back their own pdf files.  All you have to do is print one side and then put the same sheet in the printer and print on the opposite side.  You can also even open the Chevron Post Card Front into photoshop or Pages (which is what I used to make them) and personalize your post card.


Here are the pdfs!


Chevron Post Card Front

Chevron Post Card Back


DIT&O 


-Karissa 
Glitter Ombre Nail Tutorial

Nov. 2013- Thanks for visiting us! We are so happy you found us (most likely through Pinterest).  I love glitter on my nails so much, I do this in multiple color variations, I am currently wearing a black polish with gold ombre look!  We hope you visit our other posts!

photo via my Instagram @karissa_mariep


Centuries ago, nail polish was used to signify social class.  Today, girls as young as 5 years old paint their nails and shades have a much broader  range than they used to.  

2011 brought us a number of polish trends.   Glitter has become a huge trend and not only in polish.  In middle school I used to make my own nail polish, back when it wasn't available.  I would pour glitter into clear polishes, clever right?!  

Today's DIT&O is a simple nail art tutorial.  I follow a lot of blogs that do amazing things and because not everyone is as talented as those bloggers this tutorial is elementary in comparison.


The materials I used are Martha Stewart's yellow barite glitter, L'oreal club prive and Essie's top coat no chips ahead.  

1. Paint 1 very thin coat of your base color (mine was L'oreal club prive) on all of your nails.  
2. Paint the second coat of your base color on only one finger.  
3. You want to sprinkle the glitter while the polish is still tacky, and it will be a tad messy!  You can either sprinkle directly from the glitter tube (carefully) or sprinkle a small mountain of glitter onto paper, pinch it between two fingers and then drizzle it onto your wet nail polish (the messier of the two methods). 
4. Sprinkle the glitter starting at the base of the nail.  You want the glitter to be heavy towards the base and less sprinkled at the top, to create the ombre look.   
5. Repeat steps 2-4 until all of your nails are complete.   
6. Let nails dry completely and finish with a top coat.

Finished product!!! 
Martha Stewart's glitter is really fine so it works really well.  It also comes in a ton of different colors.  

Need to do your nails? Here's a look at the winter polish trends

DIT&O

-Karissa