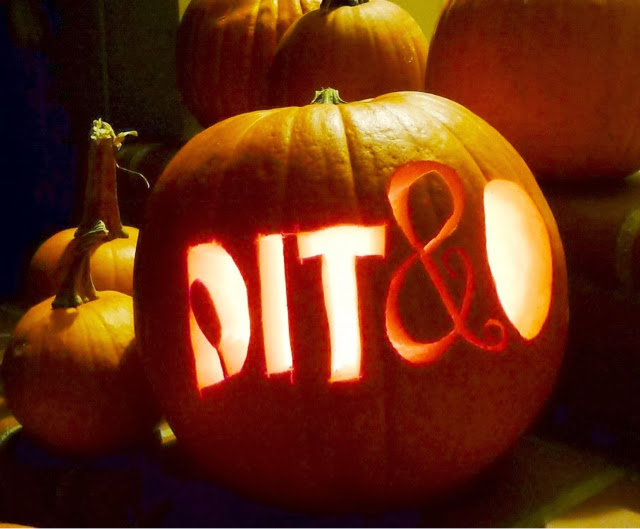
We hope your night is full of candy, cider, drinks, and festivities! Be safe, see you in November!
DIT&O's First Halloween Movie Night!
Wednesday, October 30, 2013
First and foremost we want to thank everyone who joined us at our first Halloween Movie Night! Without all of our guests, our events would be just Karissa & I drinking bloody marys by ourselves. Which is a good time, don't get me wrong, but this is more fun. More importantly, we need to thank Mike for providing his equipment for us to view our Halloween movie on the big screen. This event wouldn't exist without your equipment. Secondly, thanks goes to John who set up the equipment. It was a lot of laborious work & we really appreciate all of the help!
I was inspired to have this event a few months after I joined Karissa and John to watch The Avengers in John's parent's backyard on the 4th of July. We decided to have the Halloween movie night & make my backyard into our own outdoor movie theatre!
I was inspired to have this event a few months after I joined Karissa and John to watch The Avengers in John's parent's backyard on the 4th of July. We decided to have the Halloween movie night & make my backyard into our own outdoor movie theatre!
We had a fully decked out s'mores bar with some yummy Halloween candy. & you can't go to the movies without some popcorn! So we had the popcorn maker poppin' away (thanks Kim for letting us borrow it!). Tea, hot chocolate, Abuelita, & sangria was also provided. Some of our guests carved some pumpkins and did a great job!
 |
| Our Halloween Movie Night Playlist playing on the projector |
In order to vote for the film we were going to watch that evening, Karissa provided movie tickets that were perforated. The guests were able to write their vote on the stub of the ticket. (She made it perforated by sewing on the paper, without thread, using a close stitch.)
I wanted to clearly display the films to vote on so I created this poster. The fonts were readily available as free downloads and I printed the document at Staples as an Engineering Print.
Hocus Pocus, a crowd favorite, won the honor of being the movie of the night. Everyone grabbed their popcorn and candy and curled up in their chairs or the grass with their blankets. We decided that for whoever wanted to stay later got a double feature! We also watched Ghostbuters.
The night ended with time spent at the photobooth, sitting around the fire & just enjoying the fall evening. We. Had. So. Much. Fun. & really appreciate the huge turnout. Be sure to stay tuned for our next event!
DIT&O!
- Christina
photos by afton tarin, karissa pulido and me
Mom's Planter DIY
Tuesday, October 29, 2013
In an effort to not waste, my parents keep any extra building supplies, like tile and paint in the garage, for the just in case or repurposing. A couple of weekends ago my mom sent me a picture with her current project. She is filling up the small space of dirt along the side gate with plants. She repurposed these terracotta tubes as planters and stacked them to created different heights.
How easy and cool looking right! I wanted to share her great idea. Would be cool to paint them too.
–Karissa
p.s. I'm sure we will feature things that my mom does too, because you can obviously see where I get my creativity. :)
DIT&O's Fall Music
Monday, October 28, 2013
Karissa & I spent a month building this playlist for our Halloween Movie Night & we loooove it. We randomly added songs & it ended up being a 7 hour playlist! We included Halloweeny songs but it's mostly fall inspired. It's perfect for these overcast fall days when you light your candles, curl up with a great book or magazine and just relax.
Please enjoy!
- Christina
Labels:
DITOdetails,
halloween,
halloweenwithDITO,
movienight,
music,
playlist
Tea & Social Photobooth
Photo booths are a necessary to do for everyone of our events. They're entertaining for guests, memorable and easy given the correct equipment.
The backdrop
As themed and festive our gatherings are, we try to think of equally as fitting backdrops for our photo booth. For our tea & social we went with a design sponge diy for the tissue paper flowers. (Made by friends Caitlin and Andrea. Thanks for the help gals!) We staple gunned 1/4 inch square fencing wire to the side of my parent's garage and put the stem part through the wire to secure.
The props
This time we went with standard mustaches, a couple of thought bubbles and one little paper fox. Like the idea for the backdrop I like to keep the props in line with the theme. I love frames (more on that later) and had an empty frame as a prop that I found while thrifting. I also had a decorative wooden ampersand that was perfect.
Our favorite snaps
As you can see, everyone had such a good time snapping away.
Later this week we will give you a rundown of our equipment set-up!
–Karissa
Photos by: Ashley Lynn Richards Photography
Tea & Social's Raffle!
Friday, October 25, 2013

Our raffle during our Tea & Social was a lot of fun. We had an array of prizes but one of our favorites was our screen printed DIT&O shirts. Karissa did a great job screen printing them. We also screen printed a really cute American Apparel tote! (That was one of my favorite prizes.) We had candles, stationary, tea (!), and mugs. It was a successful raffle. Thank you to everyone who participated!
- Christina
Photos by: Ashley Lynn Richards Photography & Courtney Seymour
Labels:
DITOdetails,
giveaway,
raffle,
screen printing,
tea,
TeatimewithDITO
Halloween Crown
Thursday, October 24, 2013
Halloween and Day of the Dead are fast approaching, but there is still time to make something pretty and festive to wear on your head! I love floral crowns and make them for our DIT&O shop too. If you've used floral tape before this shouldn't be a problem, but wrapping the flowers and tulle can be tricky.
Materials: flat flexible wire, floral tape, 1-2 bunches of fake flowers, black tulle, wire cutters (scissors work too), halloween ribbon (solid or printed, is a preference and optional)
First cut your wire to 25 inches. The length around my head at an angle is about 23 inches and I leave extra wire to have some overlap. Overlap the ends about an inch and hold in place. Wrap your wire circle in floral tape. It's best to cut a long piece of floral tape to wrap so that it's easier to loop through the crown framework.
Continue by cutting the stems of your flowers leaving about 2 inches of space.
Cut the black tulle in about 6 inch pieces. You will need 2 pieces per flower.
Also pre-cut floral tape into about 4 inch pieces, one piece per flower.
Assemble the mini bouquets that you will be adding to the crown. Each mini bouquet will consist of 2- 6 inch pieces of tulle folded in half, and one flower. position the tulle under the flower so that it will be between the wire and fake flower.
Make sure you have enough flowers by laying them around the wire circle. I bought one bunch from Michaels because the fake flowers were 70% off and it just happened to be just enough to wrap around the entire wire. When attaching the last mini bouquet you need to tuck it under the already attached flowers so you have a completely filled crown.
I just love crowns, I would wear one everyday if I didn't look ridiculous at the grocery store with a crown on. You can catch me wearing it at our Halloween Movie Night this weekend!
Happy Halloween!
–Karissa
Office Appeal
Wednesday, October 23, 2013
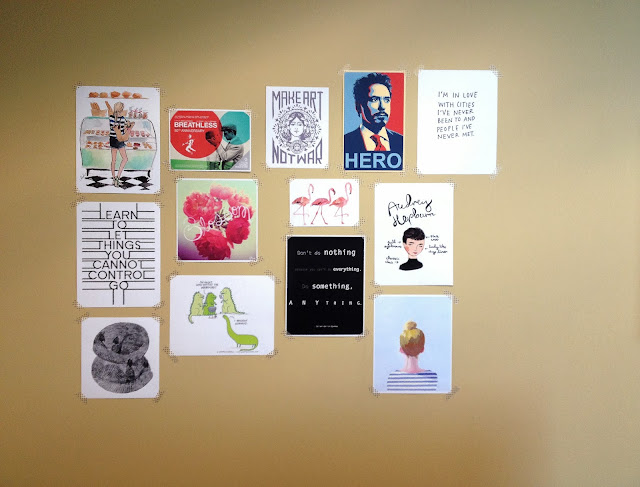
I moved into a new office recently & I wanted to give you a sneak peak on how it looks! In a later post I will show you some DIYs I used to accomplish this look.
1. flowers from trader joe's 2. tray from target 3. magazine holders from the dollar spot in target 4. thrifted bulletin board covered with fabric from bobbie lou fabric factory
- Christina
Subscribe to:
Posts (Atom)


